Tuesday, October 1, 2013

Healthier Pad Thai

Pad Thai is a traditional Thai recipe, and while my Thai food experience is very limited, I really enjoyed this recipe.  Perhaps it's because I love tricking my stomach into eating healthy food disguised as deliciousness...


What you will need:
 
1 Spaghetti Squash
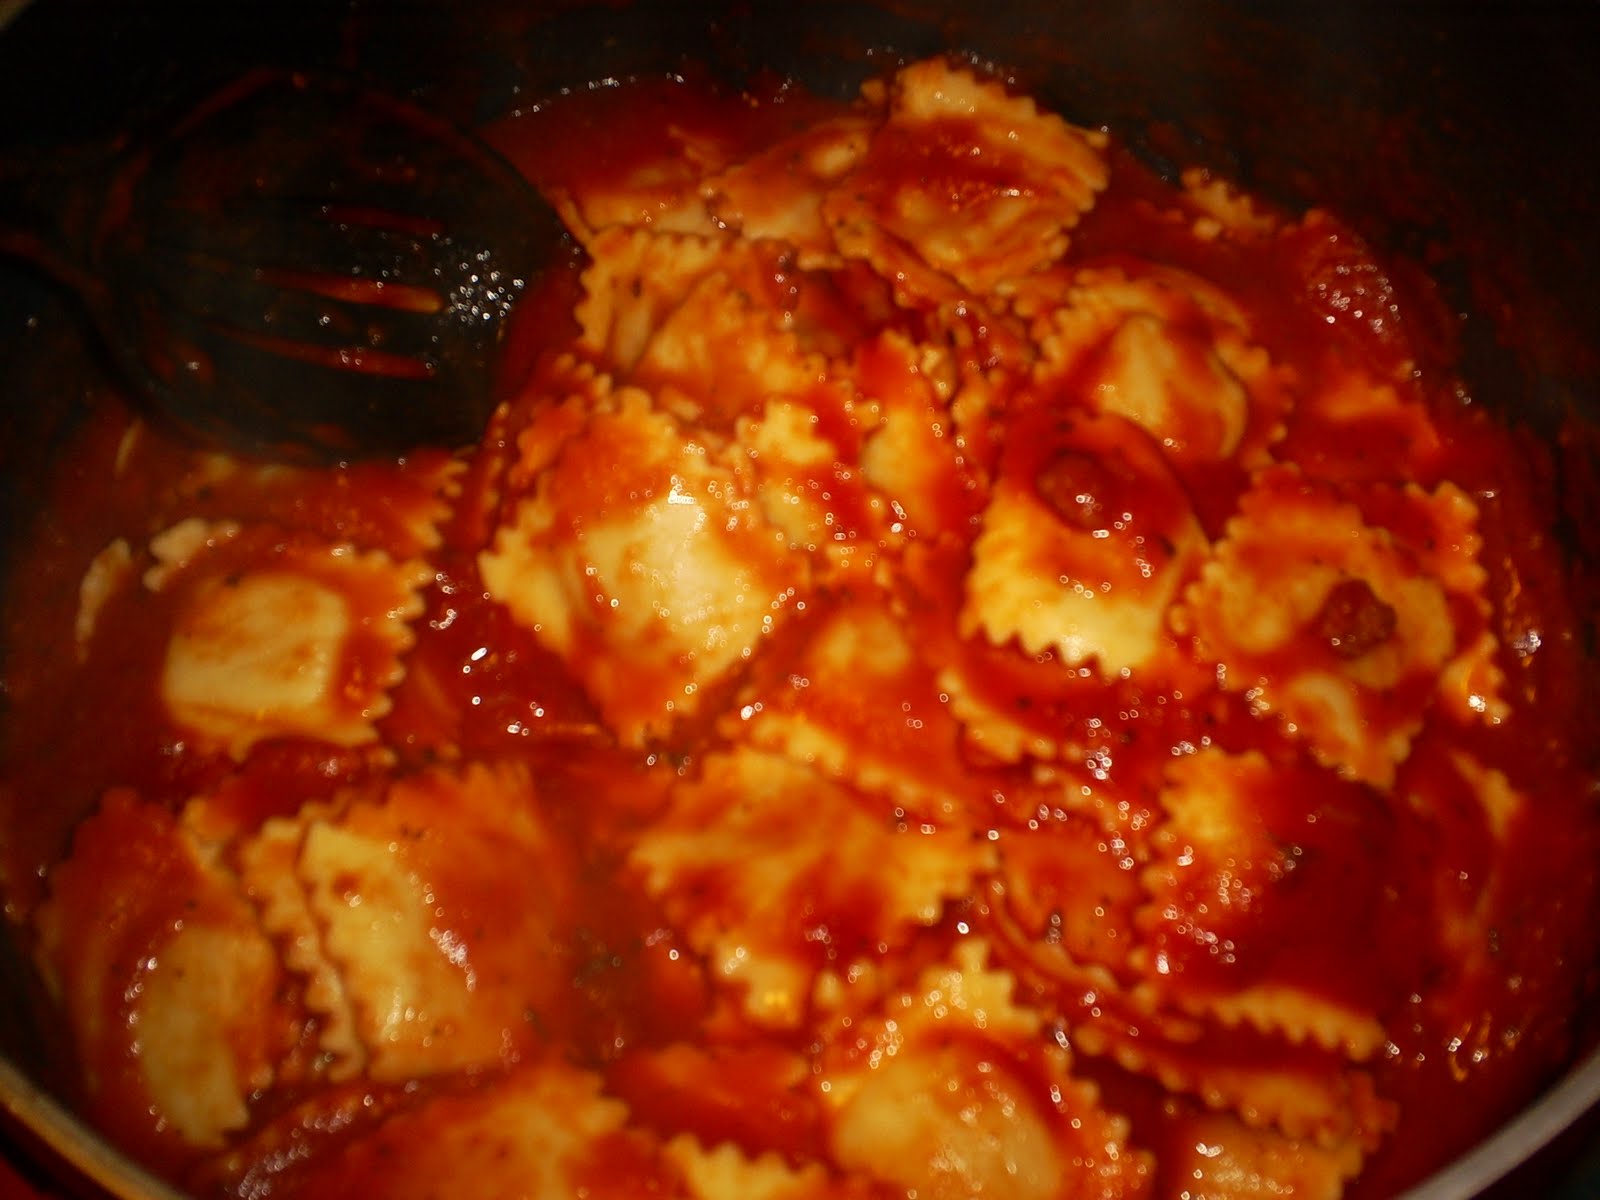
1 Bottle of Pad Thai Sauce
2 Cups Shredded Chicken
1 Bag Frozen Shrimp
5-6 Green Onions
2 Carrots
1/4 Cup Red Onions
1 Can Mushrooms
4 Cloves of Garlic
 
Instructions:
 
Preheat your oven to 375.  Cooking the spaghetti squash is the most time consuming part of this recipe.  Before I get into that - side note:  Spaghetti squash rocks!  I struggle adapting to healthier alternatives, but this miracle veggie looks like a squash - and after you cook it, it looks like spaghetti noodles!  Honestly, I don't think my daughter even knew it wasn't noodles....shhh!
 
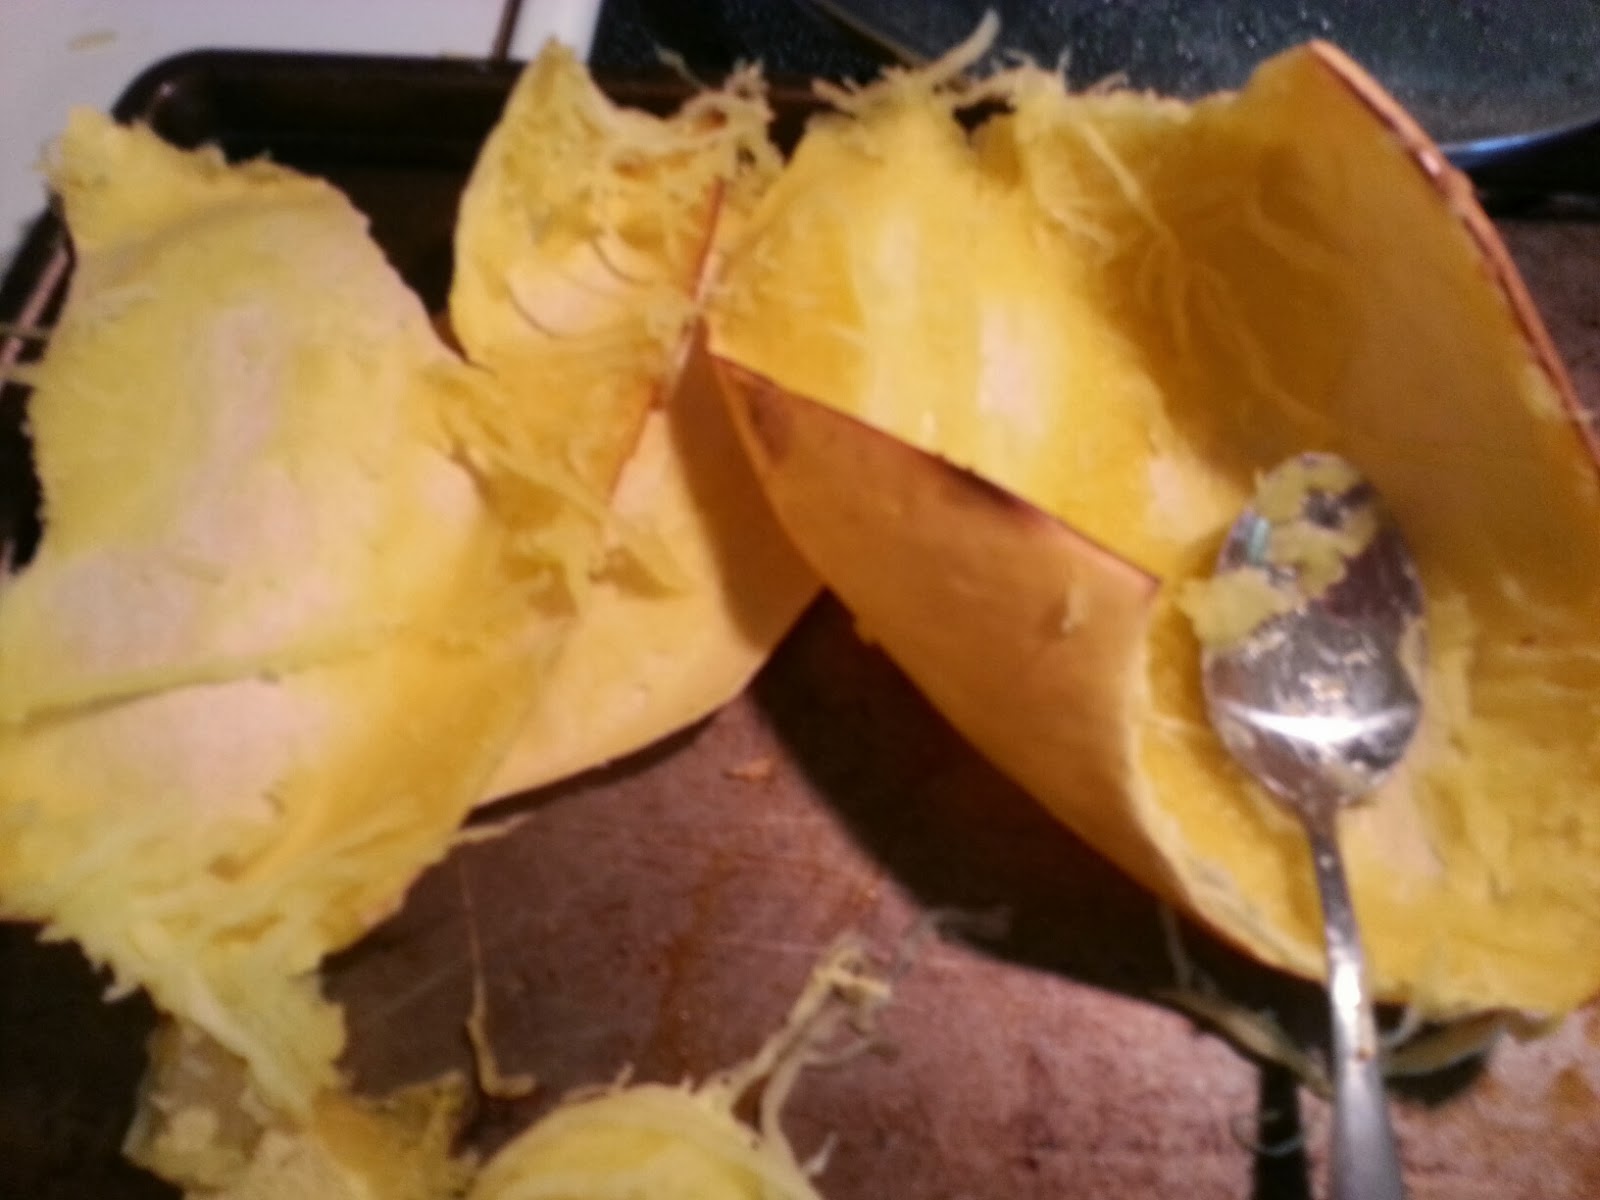
Anyways....your going to need to wash the outside of the squash and then cut both ends off.  Cut the squash right down the middle and place it cut-side down on a baking sheet.  It will need to bake for about 50 minutes.
 
The next task is the chicken, and they type of chicken you choose will determine how early you should start.  I used half a rotisserie chicken that I had left over from another meal, cutting my prep-time drastically.  (Purchasing rotisserie chickens when on sale, shredding them while they are still warm, and then freezing them for later recipe's is a huge help - plus they are delicious).  You could also cook a couple chicken breasts in olive oil and then shred them with a fork.
 
Next chop all of the vegetables as shown in the pictures above, with the carrots being the only ones to be shredded.  Now you can buy carrots already shredded to save time, but I went all out on this one (joking!).  Sautee all of the vegetables together with a little olive oil until they are softened - but not mushy.  Add the chicken, and enough of the Pad Thai sauce to cover the mixture.  DO NOT add the shrimp yet.
 
Remove the spaghetti squash from the oven, and scoop it out of the peel with a spoon.  They will obviously be really hot, so I typically cradle one half in my oven mitt while doing this (and then I have to wash the oven mitt, because I'm just not that coordinated).  Put all of the squash into a large pan or bowl.  Pour enough Pad Thai sauce into the bowl to coat all of the "noodles."  They will separate are you stir.
 
Add your sautéed veggies and chicken to the squash.  Rinse your shrimp in a strainer to partially thaw it. Use this same pan to cook your shrimp (or I suppose you could do it in a separate pan, but I hate washing dishes...or eating over-cooked shrimp).  Shrimp cooks quickly!  I bought the frozen, precooked, deveined, and tail-off type - size small.  Really it's your pick, but you will definitely want the tails off.  I prefer the raw shrimp, but the store didn't have it this time.  About 30 seconds into cooking the shrimp you will see why we cook it separate.  Shrimp puts off a lot of water while it cooks, and it would have diluted your veggies if you tried to speed up the process.  Raw shrimp you will cook until they look pinkish-orange, and precooked shrimp just needs to be warmed through.  Drain the water from the pan of shrimp and add it to the squash.
 
Mix everything, adding sauce to taste.  This would be great served with egg rolls, but I resisted the extra calories.....this time!


Tuesday, May 4, 2010

Cheese Ravioli & Fresh Salad


This is the perfect "I can't stand another drive thru but you have soccer tonight" meal....however last night it was more of a "work sucked, the laundry is all piled up, and you're all looking at me like "what's for dinner?" kind of meal. Either way...I felt better after dinner (which was done in about 15 minutes).
The Fastest Cheese Ravioli - Fresh Salad
- and Garlic Bread
What you'll need:
Cheese Ravioli (1 or 2 pkgs - deli section of store)
Spaghetti Sauce (1 can or jar)
Lettuce - Tomatoes - Onions - Cucumbers
Garlic Bread
The garlic bread will probably only take 4-6 minutes to bake but since this meal is done quickly you're going to want to start by pre-heating the oven to the temperature on the package. I did have frozen premade garlic bread tonight (you can find great coupons for this) but hamburger/hot dog buns, or bread can be buttered and sprinkled with garlic powder, onion powder, and pepper for a quick buttery side too.
Fill a large pot with water and heat on high until it boils. While you wait you can wash your lettuce and other veggies. I occasionally buy the bagged salad but if I have the time I like to wash lettuce and dry it in the salad spinner (that I'm so glad I invested in) and then put it in a gallon bag for later. (tip * put a paper towel folded in half in with the lettuce to keep the moisture from causing it to spoil.) Then, for a meal like this I can just pull out the bag of fresh clean lettuce and get to the rest of the meal.
When the water comes to a boil add the ravioli and reduce heat to med or med-high (don't forget to set a timer for the suggested time on the package). Put your lettuce in a bowl and chop the tomatoes, cucumbers, and onions. Top the salad with the other veggies. These are just what I happened to have around at the time but I also love using peppers, onions, parm cheese, fresh mushrooms, or carrots. When your pasta timer is about 5 minutes from done get the garlic bread in the oven.
When the timer goes off strain the ravioli and put it back in the pot. And don't forget the garlic bread should be about done too. Pour the spaghetti sauce into the pot of ravioli (don't worry, the ravioli will heat the sauce). You can switch this meal up by using a different flavor of ravioli (meat, spinach, etc) or using alfredo sauce.
Serve with the salad and garlic bread.....and see....you still have time to fold the laundry :)


Saturday, February 13, 2010

Not So Philly Cheese Steaks


Not So Philly Cheese Steaks
What you'll need:
Steak-ums (1 box)
Hoagie Rolls
Onion (1 medium)
Green Pepper (1-2)
Shredded Mozzarella
Sliced Provolone
Salt & Pepper
Onion & Garlic Powder
Olive Oil
Velveeta Shells
Chips (or beans, etc....quick side)

I know these particular cheese steaks would probably be an embarrassment on any street in Philly.....but it's a quick, easy (and did I mention inexpensive) way to add a little variety to the weekly menu at home.
Begin to boil water to cook your Velveeta shells and heat 2 skillets over medium heat.
Wash, and then thinly slice the onions and green peppers. In one skillet add a little olive oil and begin to saute the green peppers. In the other skillet you'll also need to add a little olive oil and then begin to cook the steak-ums. Add salt, pepper, and garlic & onion powder to both skillets. After the peppers have cooked for a few minutes add the onions. Onions cook much faster.
Your water should be ready to boil the shell noodles. Prepare the Velveeta shells (or any other quick side item you prefer) as described on the package.
When the Steak-ums are fully cooked (and they will crumble) add them to the peppers and onions. Sprinkle heavily with shredded mozzarella and tear pieces of the provolone to toss in too. Mix well.
Serve the yummy, cheesy mix on hoagie rolls with your one or two preferred sides. I used Velveeta shells and pringles because I already had them on hand.
Not gonna profit in Philly but the family should enjoy it :)


Homemade Chicken Soup = Warm Happy Kids


Today it actually SNOWED in SC!! Can you believe it?


This is the kind of meal that's perfect for a day like today. Especially since most of us are not prepared with appropriate snow attire....and my fingers and nose were freeeeezing!!! This EASY, homemade (as it's gonna get) chicken soup is sure to thaw you all that way to your toes.


Quick Easy Chicken Soup


What you'll need:


Chicken Broth (2 boxes or large cans)

Rotisserie Chicken (1 - shredded or chopped)

Egg Noodles (8-12 oz.)

Carrots (fresh raw - 4 whole or 1/2 a bag)

Celery (fresh raw - 4 stalks)

Onion (1/2 a big one)

Poultry Seasoning - 2 tbsp (do not substitute)

Salt & Pepper

Butter -or- Olive Oil


Begin to boil (most of) the chicken broth in a large pot. Keep some out so that you can add at the end if needed. You're going to use this to boil the noodles instead of water (but you will NOT strain the noodles). I bought carrots that were already chopped and then just chopped them a little finer. You can also use whole carrots but you will need to peel and then chop them. The carrot pieces should be small or thin so that they don't take a long time to cook. You will then need to wash the celery and chop it into small slices. Then repeat with the onion. Chop as much veggies as you want. If you're not a veggie person then leave them out or keep it light....but the celery and onions most of all add great flavor to the broth.


Heat a large skillet with a little butter or olive oil and then add your veggie mix. Sprinkle with salt & pepper and continue to mix and saute. You'll want to keep this over medium heat for about 10 minutes but stir it every minute or so to keep it from scorching on the bottom. Trust me, this happens quickly :)
I usually buy rotisserie chickens when they go on sale and then I pick off all the meat, chop it, and freeze it in a freezer safe baggie. Then the morning of making this soup I'd move the bag to the refrigerator to thaw. If you didn't do this then you'll want to get your chicken picked off the bone and chop it up (just bite size....not too small).
While you're chopping chicken and waiting for the veggies to get tender enough add the egg noodles to the boiling chicken broth. Set the timer for the time listen on the bag. It's usually about 8-10 minutes. When the timer goes off add the chicken and veggies to the noodles and broth. Then add poultry seasoning and season to taste with salt and pepper. Now add the extra chicken broth if needed, and stir. You can see that I like my chicken soup thick but you can thin it as much as you want with more broth, or water if you run out. Put a lid on the pot and let it cook together for about 5 minutes.
I feel warm already!!


Thursday, February 4, 2010

Stuffed Shells - with Sausage!


This is what you make when your Mother-in law is coming for dinner! Most people assume that it's hard to do, or expensive...but it's neither.
Stuffed Shells - with Sausage!
What you'll need:
Large pasta shells - 1 box
Spaghetti sauce - 2 jars or cans
Ricotta cheese - about 12 oz.
Shredded mozzarella cheese - about 16 oz.
Cream cheese - 8 oz.
Ground sausage - about 1 lb.
Onion - 1/2 cup chopped
Garlic - fresh, 2 cloves
1 Egg
Lemon juice - 2 tbsp.
Rosemary - fresh, 1 tbsp.
Preheat the oven to 400.
Boil water to cook the shells. Cook the sausage in a skillet and when it is almost done cooking add the onions and garlic. I used "sage" sausage that I found in a roll near the breakfast sausage but I imagine that most ground sausages would be good (maybe Italian). While the sausage is cooking get the shells into the boiling water and don't forget to set a timer. I always cook my pasta with a timer set so I don't forget about it or overcook it. It's really just one less thing to worry about and these shells will not work well if they're overcooked.
In a big mixing bowl you will want to combine the ricotta cheese, HALF of the shredded cheese, cream cheese, chopped rosemary, and the lemon juice. Cream it together very well. This is usually easiest with an electric hand mixer or the back of a large slotted spoon. Season to taste with salt, pepper, and any other seasoning that you think might work well. Once you're satisfied cream the egg into the blend.
Strain the shells when the timer goes off and leave them in the strainer. You may want to stir them with a tiny bit of olive of vegetable oil to keep them from sticking together. Add the cooked sausage mix to the bowl of cheeses and mix well.
Spread a layer of spaghetti sauce in the bottom of your baking pans. Keep in mind that you can make this recipe larger or smaller very easily as the proportions of ingredients are more of a preference and don't have to be exact. Make just one small man for you and your hubby, or make 2 large pans for the whole family...and your in-laws.
Begin stuffing the shells as pictured and put them open side up in the baking pan. When the pan is full you'll need to top it with more sauce and shredded cheese. Bake about 30-40 minutes until the top is nicely browned.
Now go serve dinner and impress someone!


Oh So Yummy Tortellini


This meal was one of the more expensive meals that I've made, but still within reasonable budget. Just looking at the pictures is making my stomach growl...so worth it!
Oh So Yummy Tortellini
What you'll need:
1 Rotisserie chicken
Tortellini - pre-made, in deli section or frozen
Sour cream (8 oz)
Butter (1 stick)
Olive oil (1/8 cup)
Cherry tomatoes
Garlic, fresh
Onions
Rosemary (fresh is so much better)
Shredded motzerella - 1 cup
Parmesean cheese - 1/4 cup
I got this idea from my friend Lisa and made a few changes. (Speaking of Lisa, I'll have to show you how to make her pasta salad one day!) Garlic bread would have been a nice side....but I've been slacking on buying bread lately. I should use cutting carbs as an excuse but it's more like forgetfulness.
I usually buy 2 or 3 rotisserie chickens when they go on sale (about $3.99 is good) and I shred all the chicken off of it into bite size pieces. I bag each chicken in a freezer bag individually and flatten out, then freeze. Flattening out the chicken allows it to thaw faster and fit better in the freezer.

In a large pot you'll need to boil some water to cook the tortellini.
Chop onions, rosemary, and garlic into fairly small pieces and begin to saute with a little of the butter and olive oil. Sprinkle lightly with salt + pepper. The water should be boiling enough to start the pasta cooking (rad package for time and set a timer). Chop the cherry tomatoes in half and then cut each half in half again. Add the shredded chicken to the skillet. Don't add the tomatoes to the onion/chicken mixture until it's almost done cooking. Tomatoes will get soft really quickly and start to mush.
When the tortellini is done cooking strain it and put it back in the pot. Pour everything from the skillet into the pot with the pasta. Add the sour cream, both types of cheese, and the remaining butter and olive oil. Season with salt and pepper to taste.
This was excellent!! I don't even want to know how many calories are in it but YUM!

Sunday, January 17, 2010

Bleu Cheese Chicken


This idea originated honestly because I was tired and out of ideas.....and I had a package of chicken thighs that were getting dangerously close to their expiration dates. It actually turned out pretty good. I wouldn't say it was a favorite but it was easy and I'll definitely be making it again.
You could actually use other salad dressings, most people make chicken with Italian dressing, but I wanted something new.
What you'll need:
Chicken (thigh, legs, breast...your choice)
Bleu cheese dressing
Horseradish, creamy - optional
Salt + pepper
Packaged rice - or plain white
Vegetable - I used broccoli
Shredded cheese
Bread would go well with this also

Preheat the oven to 375.

Start by washing the chicken and putting it in a baking pan. Make sure the pieces aren't too close together or it will take the chicken longer to cook. Top the chicken with salt, pepper, bleu cheese dressing, and creamy horseradish. I use the back of a spoon to smooth this out over the chicken. Once the oven is preheated get it in there for about 40 minutes. Halfway through you'll want to flip over each piece. If you don't have a meat thermometer they're pretty in expensive and very handy. Just don't poke your meat too often because it will drain the juice out of it. Chicken should cook to 170, and after sitting for 5 minutes out of the oven it will continue to cook to 175. If you let it get warmer to 170-175 it will start to dry out.
Once the chicken is in the oven you'll want to start cooking the rice as directed on the box. Rice usually takes 30 minutes or so to cook so it's better for a meal like this than something you need ready right away.
I didn't start the broccoli until about 10 minutes before the chicken and rice were done. Bring about 1 inch of water to a boil and then add the broccoli to it. You can use fresh or frozen. I prefer fresh, but the frozen (florets) are really good too and I don't have to worry about it going bad before I use it. And who likes to clean spoiled veggies out of their fridge drawer? Not me! Once the broccoli is tender enough to easily stick a fork through it I strain it out with a slotted spoon and put it in a casserole dish. I sprinkle it with salt & pepper (and sometimes cumin, or Italian seasoning), stir, and then top with shredded cheese. Bake in the oven for about 5 minutes.
This meal gave me time to clean up while it cooked, made the house smell yummy, and everyone was full. Job complete!